Claude setup guide
- Buy a subscription for Claude Code
- Claude Desktop setup
- Install Claude Code Desktop from https://code.claude.com/docs/en/desktop
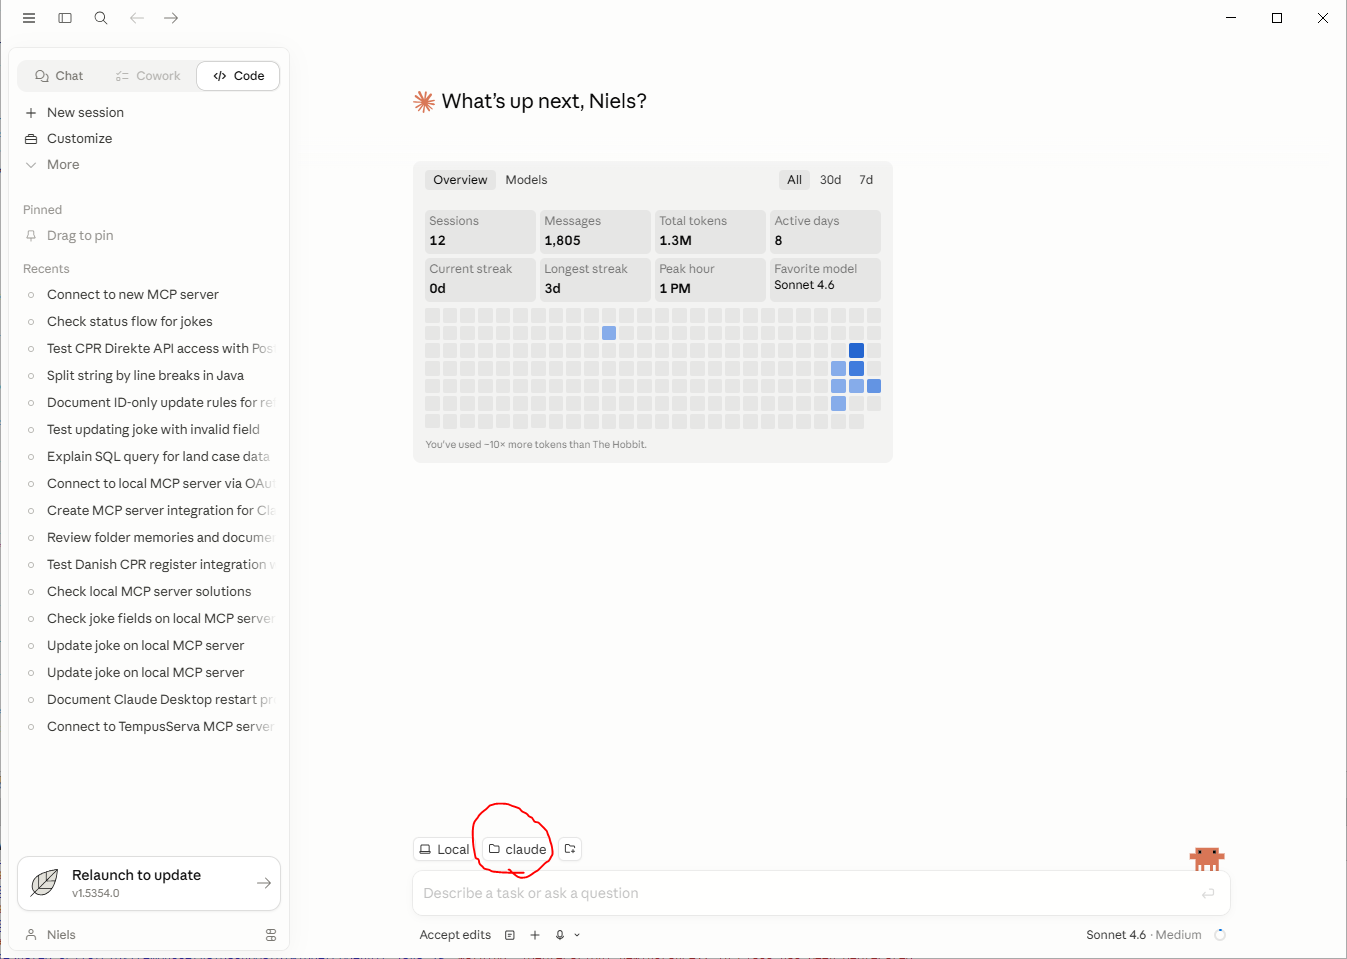
- Create or appoint a folder on your pc that Claude can have access to.

- Somehow make sure that the Claude desktop app knows which folder this is. In the picture above the folder is named "claude"
- Setup account in TS Nocode application
- Create a new usergroup in your TS application called "LLM". It MUST be called this.
- Give the group the required permissions for your purpose.
- Create a new user in your TS application with the new "LLM" group. Recommended name: claude
- Make sure to log in yourself on the user so you have both username and password.
- Navigate to the "Code" section in the Claude desktop app, and tell it to create an mcp connection to *TS Application url*/mcp, for example "https://alpha.tempusserva.dk/TempusServa/mcp"
- Install GIT (if not installed)
- Click CODE in Claude Desktop
- Follow the link in the warning and install GIT
- Search in Windows for: Enviroment -> Click Edit enviromnment Variables
- Click Advanced -> Click Environment variables
- Click Add and enter the following information
- CLAUDE_CODE_GIT_BASH_PATH
- C:\Program Files\Git\bin\bash.exe
- Close and restart Claude Desktop via menu > File > Exit (clicking the top right cross will not close Claude).
- Set up the MCP connection in Claude
- Click CODE and ask Claude to connect to TS NoCode. This promt should work:
"Use www.example.com/TempusServa/mcp as a MCP server. Use BASIC authentication. Username = claude Password = somePassword" You should of course substitue your own server along with the credentials you made yourself.
- Close and restart Claude Desktop via menu > File > Exit (clicking the top right cross will not close Claude)
- You should now be able to tell Claude to do stuff in the TS Application.
- Click CODE and ask Claude to connect to TS NoCode. This promt should work: